Setting Up Hardhat for Velas Smart Contract Development

Introduction
In this article, we'll walk you through setting up your development environment for smart contract development on Velas using Hardhat. Whether you're a seasoned developer or just getting started with blockchain development, this guide will help you get up and running quickly. So, let's dive in!
What is Hardhat and Why Should You Use It?
Hardhat is an advanced development environment designed specifically for EVM (Ethereum Virtual Machine) smart contracts. It offers a wide range of powerful features, including editing, compiling, debugging, and deploying contracts and dApps. With its comprehensive toolset, Hardhat streamlines the development process.
Prerequisites
Before we begin, make sure you have Node.js version ≥16.0.0 installed on your machine. If you don't have Node.js installed, head over to the official Node.js website and follow the installation instructions. For Windows users, Hardhat recommends using WSL (Windows Subsystem for Linux) for an optimal development experience.
Creating Your First Hardhat Project
To kick things off, let's create a new project folder. Open your terminal and run the following commands:
mkdir hardhat-velas
cd hardhat-velas
Next, we'll create a Hardhat project by executing the following command in the terminal:
npx hardhat
The npx command allows us to run packages, and here we're using it to create our project with Hardhat. Once you run the command, you'll be guided through a series of questions to set up your project. For simplicity, you can select the predefined answers.
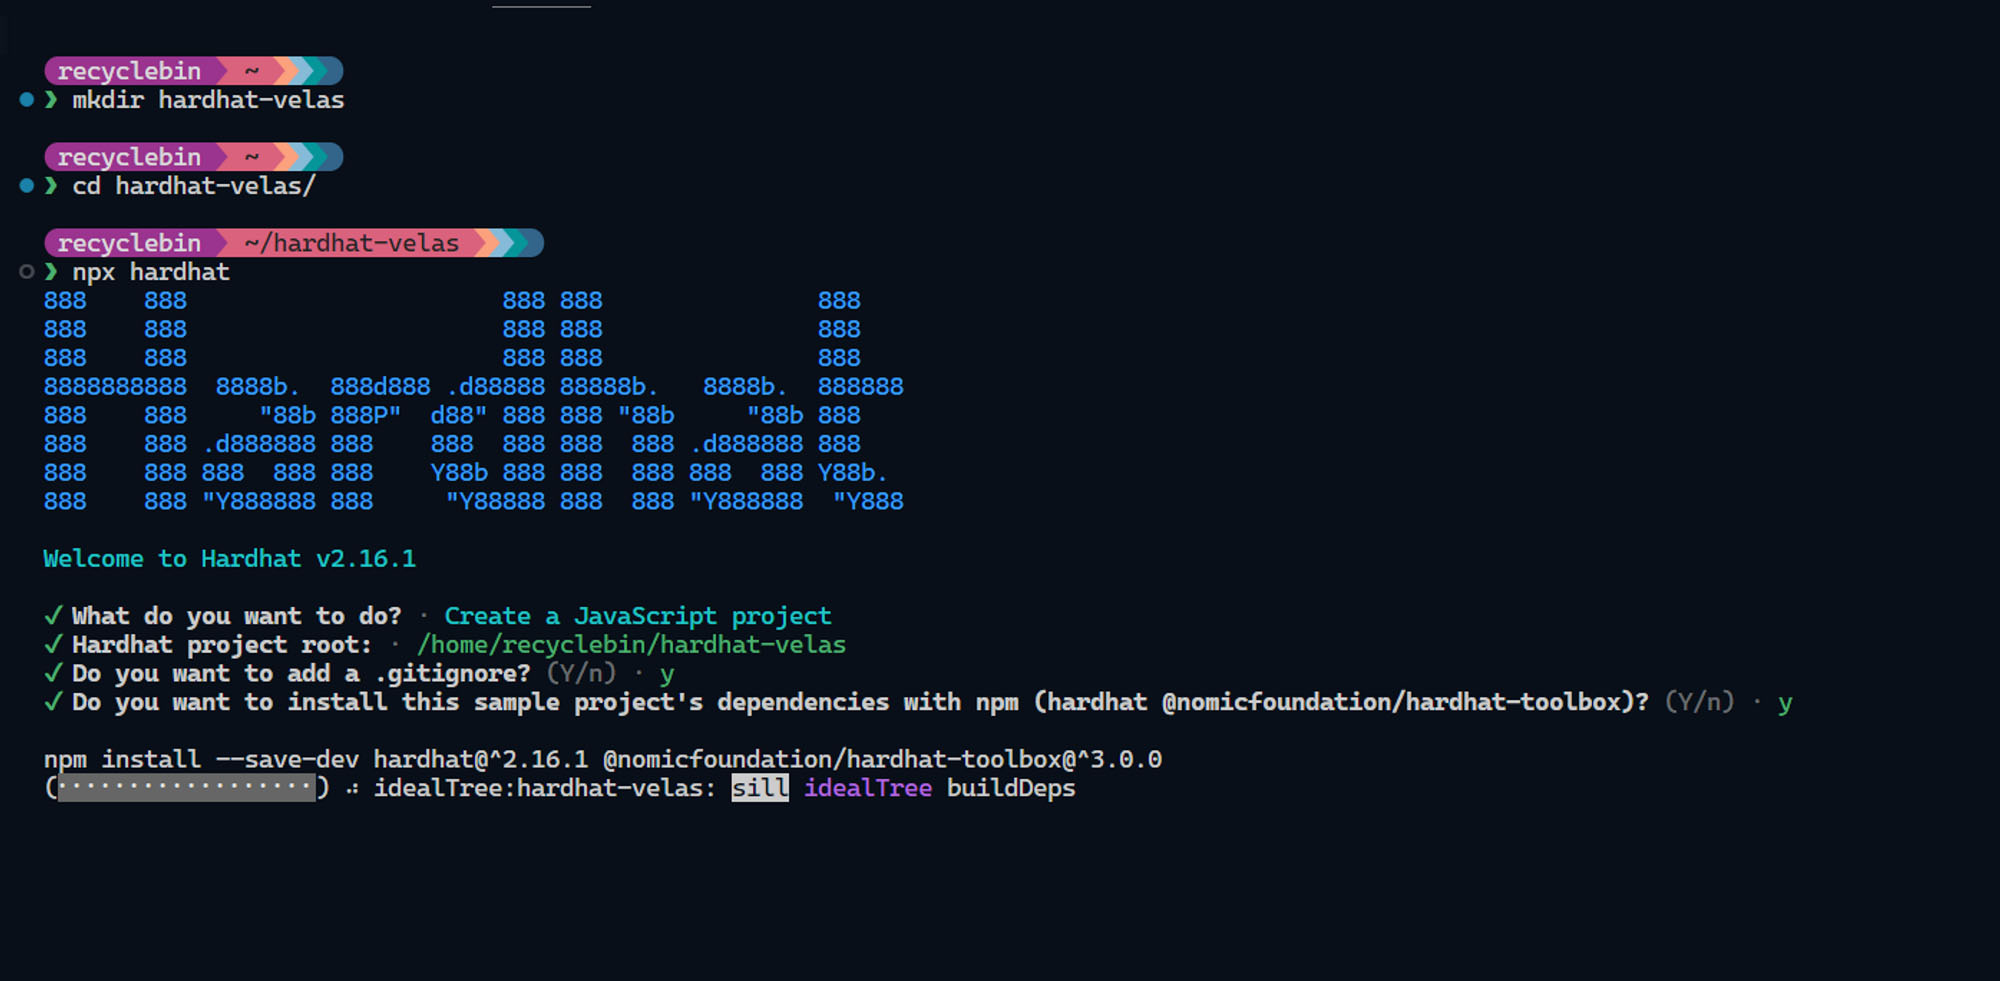
Congratulations! You've successfully set up your basic Hardhat project. Let's take a quick tour of the project structure:
contracts: This directory houses all your smart contracts.scripts: Here, you'll find various scripts, including the deployment script.test: This directory is dedicated to your tests.hardhat.config.js: This configuration file holds the settings for your Hardhat project.
While starting a new project, you can delete the sample files created by Hardhat. However, for the purpose of this tutorial, we'll keep them as they are.
Compiling Your Contracts
To compile your sample contracts, run the following command in the terminal:
npx hardhat compile
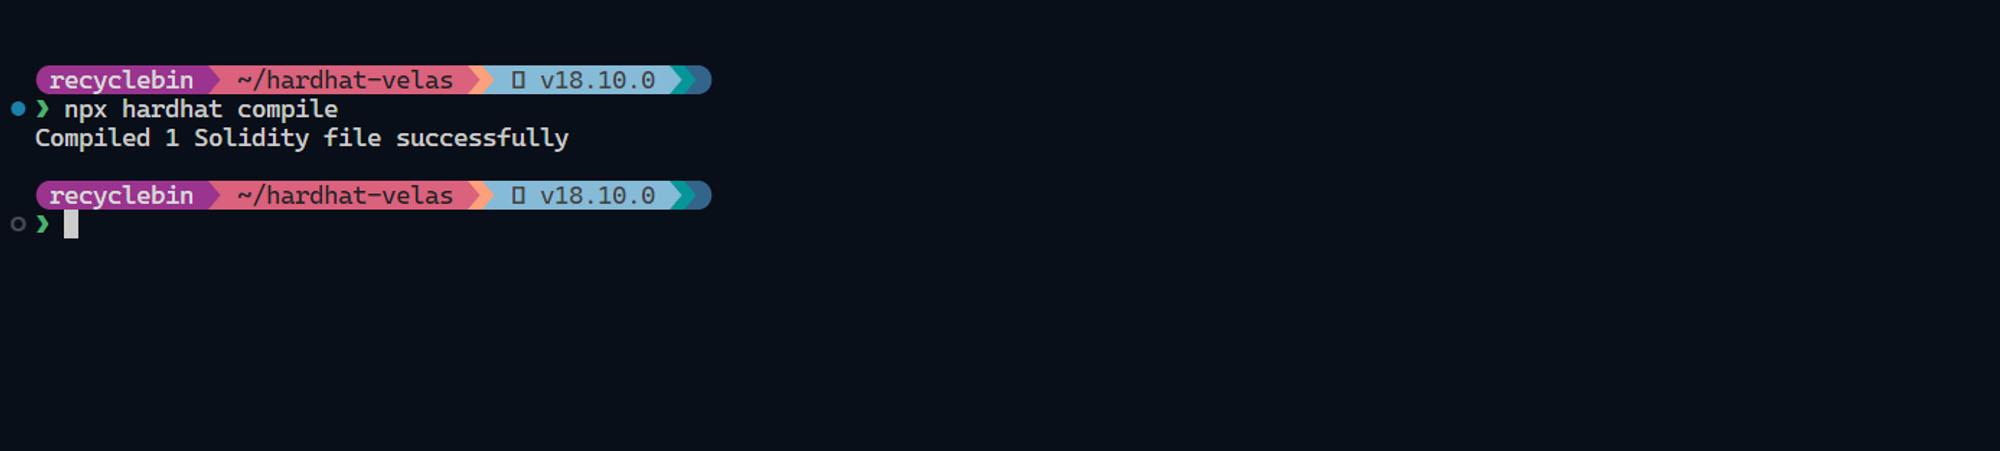
This command generates an ABI (Application Binary Interface) for your contract, which can be found in the artifacts directory.
Testing Your Contracts
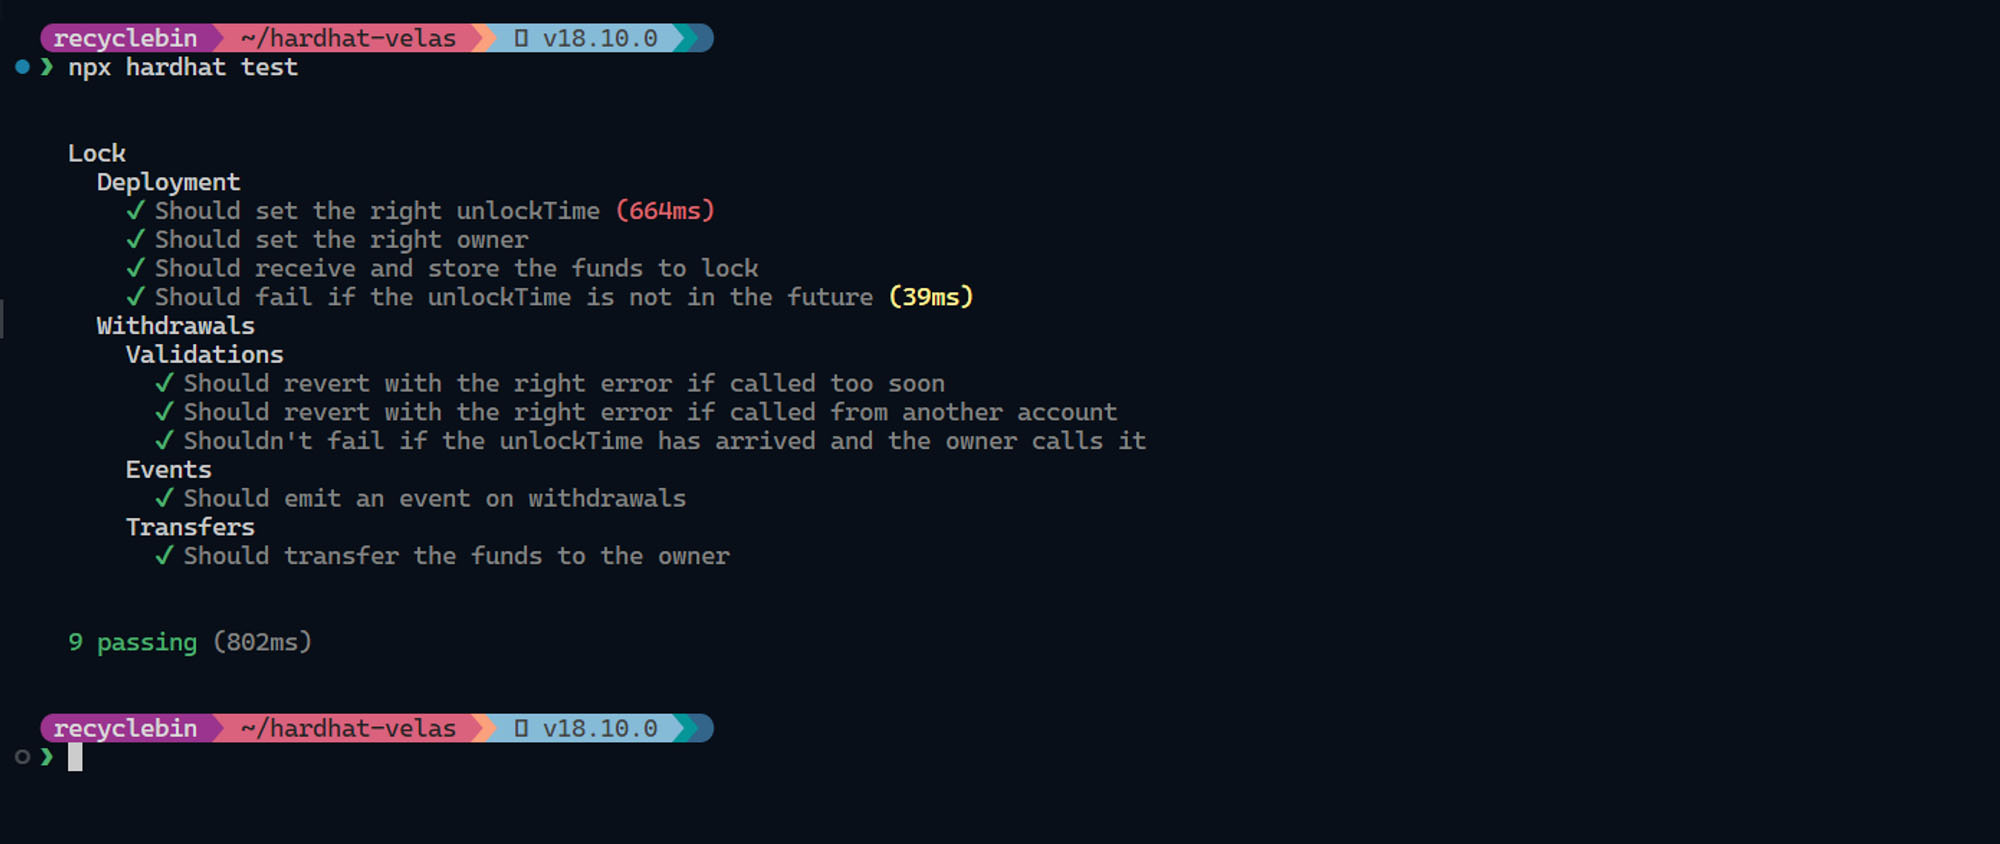
Testing is an essential part of smart contract development. To run your unit tests, execute the following command in the terminal:
npx hardhat test
Deploying Your Contract on Velas Testnet
Before we deploy our contract, there are two important steps: adding Velas testnet configuration to hardhat.config.js and setting up our deployer wallet.
Adding Velas Testnet Configuration
To deploy your contract on the Velas testnet, you'll need to add a network entry to your hardhat.config.js file. Here's an example of how it should look:
require("@nomicfoundation/hardhat-toolbox");

const DEPLOYER_PRIVATE_KEY = "PRIVATE_KEY"

module.exports = {
  solidity: "0.8.18",
  networks: {
    velas_testnet: {
      url: `https://api.testnet.velas.com`,
      accounts: [DEPLOYER_PRIVATE_KEY]
    }
  }
};
Setting Up Your Deployer Wallet
To deploy your contract on the Velas testnet, you'll need a wallet with Velas testnet tokens for transaction fees. You can obtain testnet tokens here.
Once you have the tokens, we'll add your private key to hardhat.config.js. As a best practice, we'll store the private key in a .env file and access it using the dotenv package.
Start by installing the package with the following command:
npm install dotenv
Next, create a file called .env and add your wallet's private key to it:
DEPLOYER_PRIVATE_KEY = "REPLACE_THIS_WITH_YOUR_PRIVATE_KEY"
Lastly, access the private key in hardhat.config.js using dotenv. Add the following code snippet to the file:
require("dotenv").config();

const DEPLOYER_PRIVATE_KEY = process.env.DEPLOYER_PRIVATE_KEY
Now, with everything set up, we're ready to deploy our contract on the Velas testnet.
If you plan to push this code to GitHub, remember to add the
.envfile to the.gitignorefile to avoid accidentally pushing your private key to the repository.
To deploy the contract, run the following command in the terminal:
npx hardhat run scripts/deploy.js --network velas_testnet
This command executes deploy.js and deploys the contract on the velas_testnet network.
Conclusion
Congratulations on setting up your development environment for smart contract development on Velas using Hardhat! We've covered the basics of creating a Hardhat project, compiling and testing contracts, and deploying contracts on the Velas testnet. Additionally, we explored how to set up your deployer wallet securely using an .env file and the dotenv package.
Feel free to use this project as a starting point for your future Velas projects. Happy coding!