Quick Start Staking
Velas offers a convenient way to access its ecosystem through its user-friendly wallet. Utilizing VLX, you can enjoy fast and low-cost payments with a staking feature. If you hold VLX coins, staking presents an excellent opportunity to earn passive income. By delegating your coins to a reputable validator, you actively contribute to the Velas blockchain's operations and, in return, receive a portion of the staking profits while allowing you to retain ownership of your coins. Furthermore, you can always unstake your assets within a 3-day period.
The following guide provides a comprehensive walkthrough of the VLX staking process, covering everything from creating a wallet to undelegating your coins. It considers each stage of the staking journey and presents clear instructions that anyone can follow to maximize their earning potential within the Velas ecosystem.
About Velas Wallet
The Velas Wallet is a highly secure, user-friendly and multi-currency wallet, designed to facilitate the management of your cryptocurrencies and staking of VLX tokens. It is accessible on various platforms, ensuring convenience and flexibility for users.
Velas Token
Velas Token (VLX) serves as the utility token within the Velas network, functioning as the primary digital currency across the ecosystem. It acts as the standard unit of exchange for all transactions and fees within the platform.
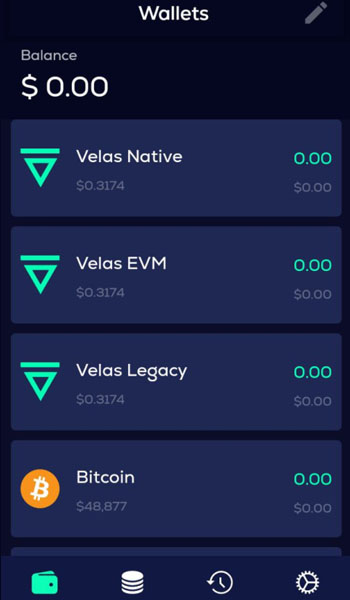
Since Velas is a hybrid EVM/eBPF chain, multiple types of tokens are available to users:
- Velas Native Token - this token is utilized within the Velas Network and enables swapping between various account types, including Native, EVM, and Legacy..
- Velas EVM Token - operating within the Ethereum Network, this token is essential for swapping VLX to Ethereum-based ERC-20 and BEP-20 tokens..
- Velas Legacy Token - designed for interactions with old exchanges and exchanges that have not yet switched to Velas EVM or Native. Legacy addresses (always start with V) essentially are 20 bytes Ethereum-like addresses but encoded differently on UI. The difference is that instead of a hex string prefixed with 0x, the Legacy address is extended with checksum (4 extra bytes), encoded with Base58, and prefixed with ‘V’.
To participate in delegation through the Velas wallet, you have the option to utilize both Velas Native tokens and Velas EVM tokens. In this scenario, the EVM tokens will be automatically converted into Velas Native tokens. For instance, if you possess 100 Native tokens and 300 EVM tokens, the staking feature will indicate that you can stake a total of 400 tokens, including the automatic conversion of the 300 EVM tokens into Velas Native tokens.
VLX tokens can be obtained by swapping them within the wallet or by directly purchasing them from exchanges such as CoinEx, DigiFinex, Kucoin, and Gateio.
How to stake VLX
For quick and easy delegation, we recommend our users to use the mobile version of Velas Wallet.
Step 1: Install Velas Mobile Wallet on your device
Get the app on your Android or Apple device.
Step 2: Create/Import Wallet
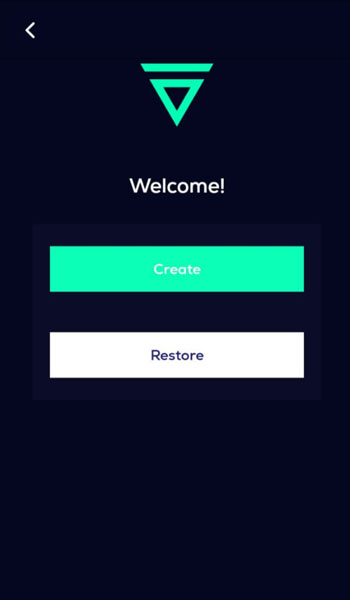
After the installation process is finished, open the wallet application. You will be prompted to decide whether you wish to create a new Velas wallet or restore an existing one.
If you choose to restore your old wallet, you will be required to enter your recovery phrase.
- To generate a new wallet, simply click on the "Create" option.
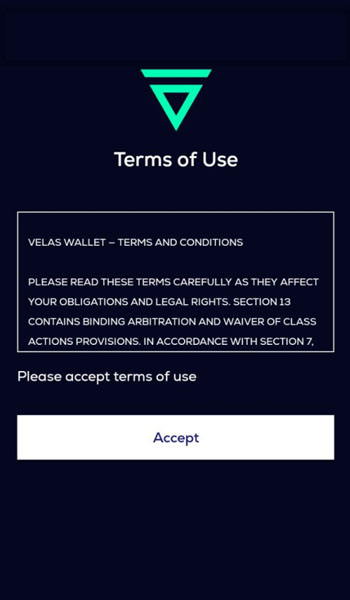
- Accept the Terms of Use to continue.
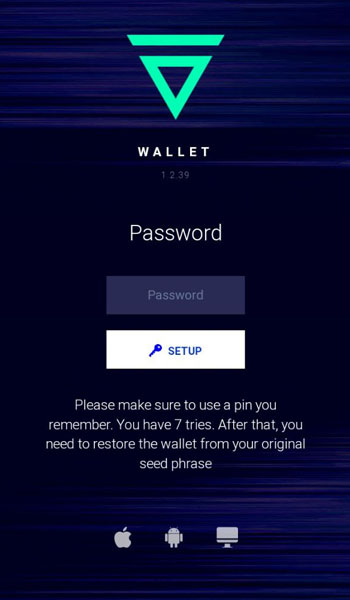
- Create your wallet password.
- At the next stage, record the seed phrase generated by the system.
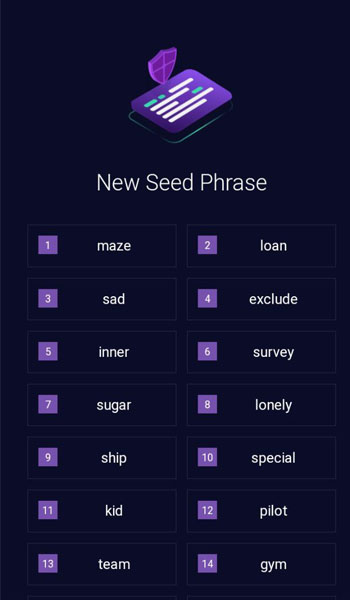
Warning! Keep it strictly secure. Anyone who knows the recovery phrase can gain ownership of your Velas Wallet.
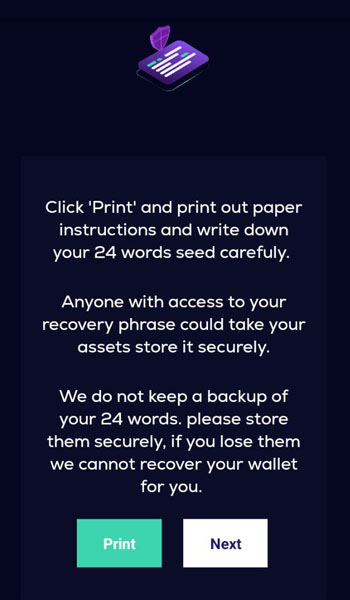
At your choice, you can rewrite a phrase or print it out directly from the app. The next prompt will ask you to enter the words of the initial phrase in the suggested order, so keep the phrase handy.
Step 3: Deposit VLX tokens into your wallet
If all the previous steps have been completed correctly, you are all set to start using your Velas wallet.
VLX can be purchased on multiple cryptocurrency trading platforms. To discover the current list of platforms supporting Velas, you can visit CoinMarketCap.
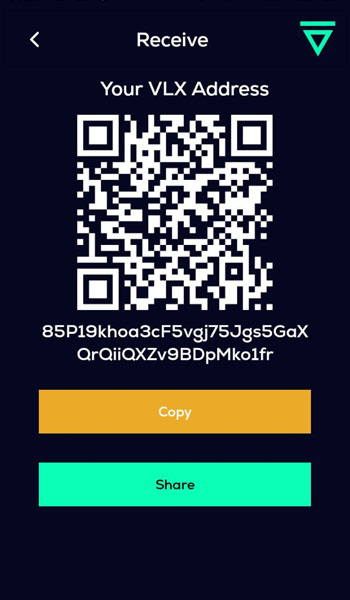
In order to transfer VLX to your Velas wallet, you will need to obtain your Velas wallet address. Click Velas Native to enter its menu and click Receive to copy your Velas Native address.

Now you can copy your wallet address or scan QR code to send tokens from another app.
Step 4: Stake VLX
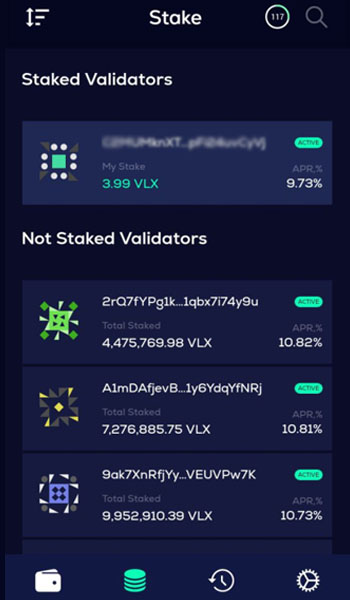
With native VLX coins in your wallet, navigate to the Staking menu icon located at the bottom of the main wallet menu. Click on it to proceed.
![]()
You will see a list of Velas validators with information about APR and the total number of their stake.
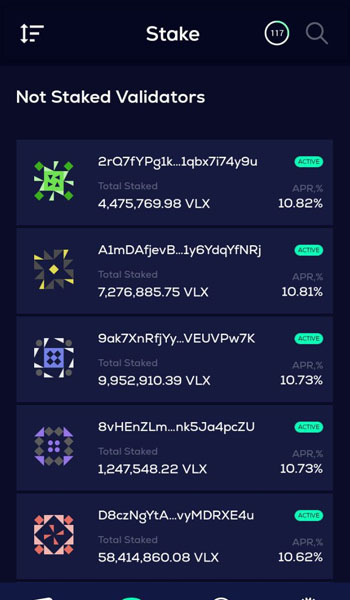
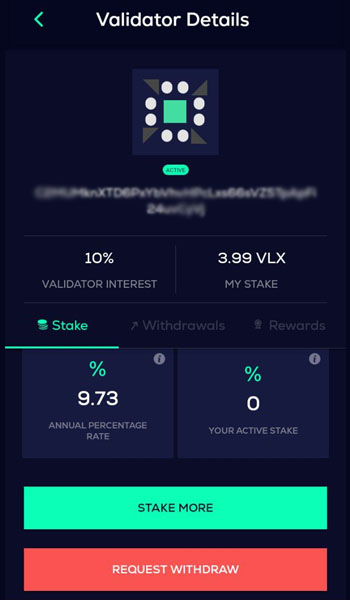
Clicking on the icon of the selected validator will take you to the menu for delegating VLX tokens. Click Stake to initiate your VLX coins delegation to validator.
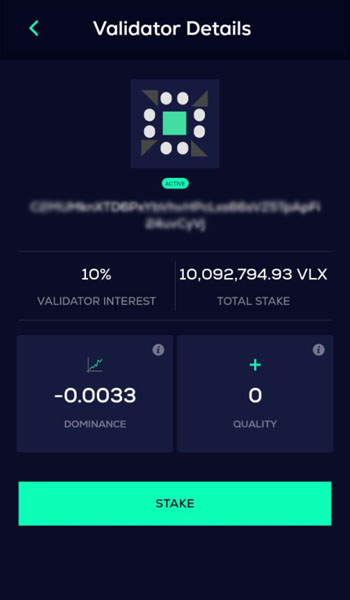
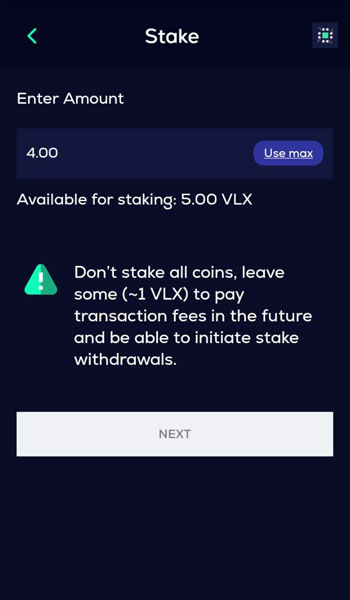
Within the Staking menu, input the desired amount to delegate. It is advisable not to stake the entire amount and to keep at least 1 VLX to cover transaction fees. Once the button gets green, click Next to proceed.
Confirm the follow-ups.
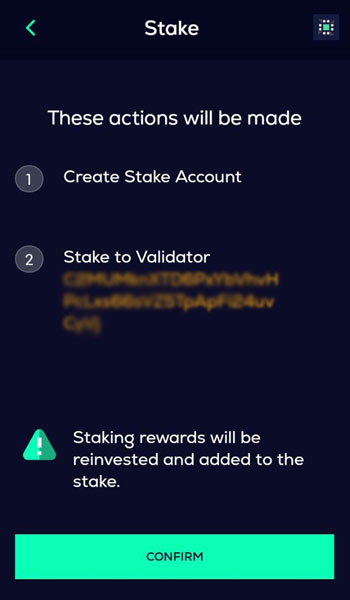
VLX Staking in the Velas mobile wallet is a streamlined two-stage process. Users can conveniently complete both the "Create Stake Account" and "Stake to Validator" actions with just a single click, eliminating any complexity. All that is required is a little patience while the process completes.
Stake activation is not immediate, it is necessary to wait a few epochs.
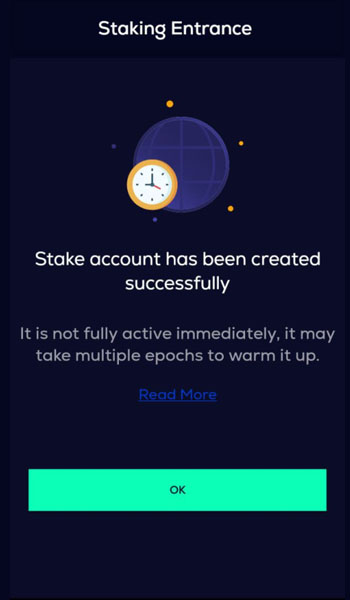
After a short period, typically within a few minutes of staking approval, you will notice your chosen validator displayed at the top of the staking menu, along with the specific details of your stake.
How to unstake VLX
The process of unstaking adheres to the same simple logic as staking. To initiate unstaking, click Request Withdrawal.
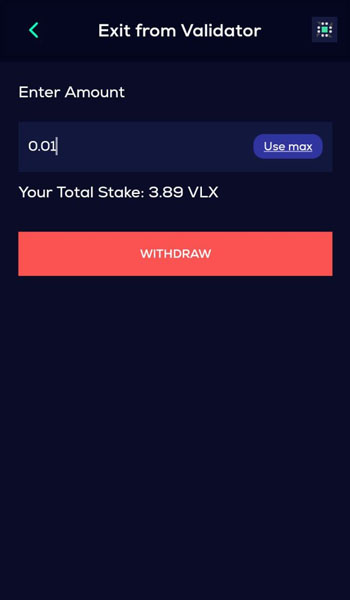
You can withdraw the whole stake or its part. Enter the amount to undelegate, and hit Withdraw.
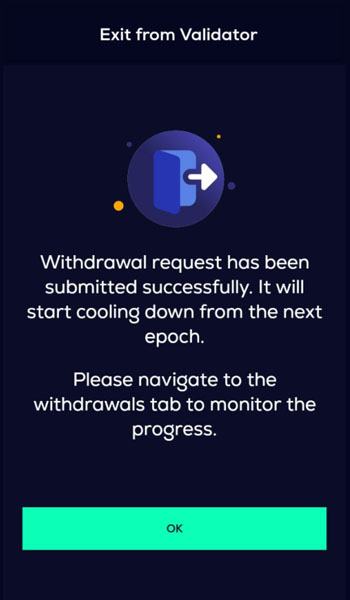
When delegation is deactivated, the operation may take a while. The withdrawal period is 1 epoch (~2 days).
Warmup/Cooldown Period
Stake, once delegated, does not become effective immediately. It must first pass through a Warmup period.
Cooldown works the same way. Once a stake is deactivated, it must first pass through a cooldown period. At the same time it continues to earn rewards, but it also becomes available for withdrawal.
Changes occur on epoch boundaries and take: ~2 days